【Marigold-LCM】賢すぎてトリックアートに騙されるAI

WEELメディア事業部LLMリサーチャーの中田です。
3月26日、現時点で最強の深度推定モデル「Marigold」の高速バージョン「Marigold-LCM」を、スイス連邦工科大学チューリッヒ校のPhotogrammetry and Remote Sensing研究室が公開しました。
このモデルを用いることで、画像や動画の深度を推定できるんです!
MarigoldのGitHubでのスター数は、すでに1500を超えており、かなり注目されていることが分かります。
この記事ではMarigold-LCMの使い方や、有効性の検証まで行います。本記事を熟読することで、Marigold-LCMの凄さを理解し、「深度推定モデルと言えばこれ!」となるでしょう。
ぜひ、最後までご覧ください。
\生成AIを活用して業務プロセスを自動化/
Marigold-LCMの概要
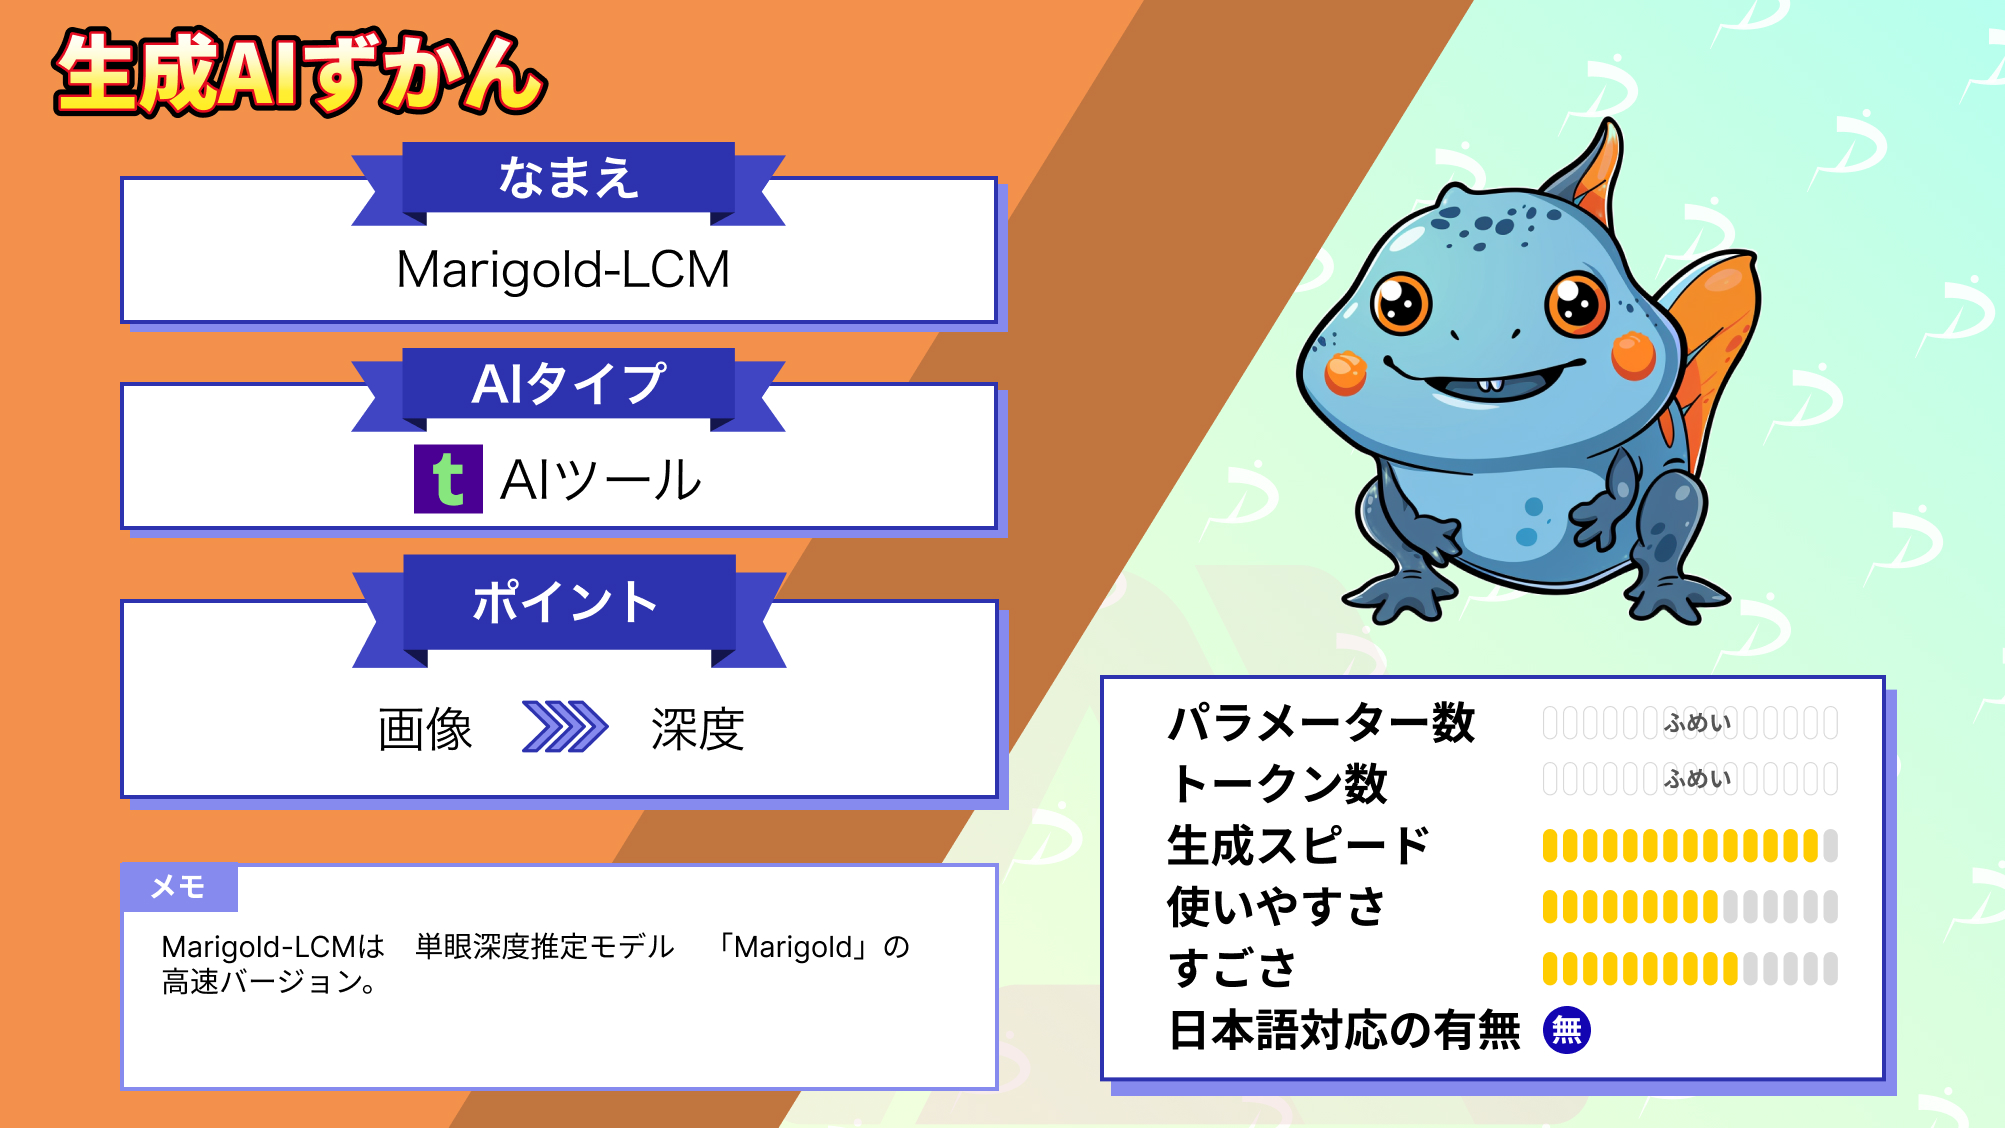
Marigold-LCMとは、同研究チームが開発した単眼深度推定モデル「Marigold」の高速バージョンです。
そもそも深度とは「カメラから画像中の物体までの距離」のことを指し、「機械学習によって入力画像の深度を推定すること」を深度推定といいます。深度推定の中でも、モノラル画像を入力として扱う場合、「単眼深度推定」といいます。
Marigoldを使うことで、以下のように入力画像の深度を推定できます。

他にも、動画の深度も推定できるのだとか。Marigoldの研究論文によると、その他の単眼深度推定モデルに比べても、高精度で深度推定できています(赤枠で囲った名前の列が、Marigoldによる深度推定結果)。

Marigoldのアーキテクチャ
以下の図は、Marigoldの学習過程です。

基本はStable Diffusion(Latent Diffusion Models)のアーキテクチャをベースとしています。まず、入力となる画像xと深度dを、Stable DiffusionのVAEでエンコードし、深度dの潜在変数にのみノイズを加えて、画像xと結合します。そうして結合したものを、UNetを用いてデノイズします。
以下の図は、Marigoldの推論過程です。

推論過程では、入力画像のみをStable DiffusionのVAEでエンコードし、そうして得た潜在変数を、完全ノイズの深度画像と結合し、UNetを用いてデノイズします。そうして、最終的にクリーンな深度画像を取得できるのです。
単眼深度推定を行えるAIモデルについては、「【Depth Anything】画像内の距離感を正確に理解できるAIにトリックアートを読ませてみた」を合わせてご確認ください。
Marigold-LCMのライセンス
公式HuggingFaceによると、Apache License 2.0のもと、無料で利用することが可能です。
| 利用用途 | 可否 |
|---|---|
| 商用利用 | ⭕️ |
| 改変 | ⭕️ |
| 配布 | ⭕️ |
| 特許使用 | ⭕️ |
| 私的使用 | ⭕️ |
Marigold-LCMの使い方
公式のGitHubやColabノートブックを参考に、Google Colab上で実行していきます。
まず、以下のコマンドを実行し、diffusersをインストールしましょう。
!pip install --upgrade "diffusers>=0.25.0" --quiet次に、以下のコードを実行して、フォルダの作成等、準備をしましょう。
import os


# Directories
repo_dir = "/content/Marigold"
input_dir = os.path.join(repo_dir, "input")
output_dir = os.path.join(repo_dir, "output")
output_dir_color = os.path.join(output_dir, "depth_colored")
output_dir_tif = os.path.join(output_dir, "depth_bw")
output_dir_npy = os.path.join(output_dir, "depth_npy")


os.makedirs(repo_dir, exist_ok=True)
os.makedirs(input_dir, exist_ok=True)
os.makedirs(output_dir, exist_ok=True)

os.chdir(repo_dir)

!export HF_HOME=$(pwd)/checkpoint

from diffusers import DiffusionPipeline

pipe = DiffusionPipeline.from_pretrained(
    "Bingxin/Marigold",
    custom_pipeline="marigold_depth_estimation"
)

pipe = pipe.to("cuda")
次に、以下のコードを実行して、推論準備をしましょう。
from IPython.display import display
import ipywidgets as widgets
import shutil

from google.colab import files

button_download = widgets.Button(description="Use sample images")
button_upload = widgets.Button(description="⬆ Upload images")
button_clear_in = widgets.Button(description="♻ Clear input folder")
button_clear_out = widgets.Button(description="♻ Clear output folder")
out_box = widgets.Output()


def on_button_download_clicked(b):
    out_box.clear_output()
    os.chdir(repo_dir)
    if os.path.exists(input_dir):
        shutil.rmtree(input_dir)

    with out_box:
        print("downloading sample images")

    # download data
    !wget -nv --show-progress https://share.phys.ethz.ch/~pf/bingkedata/marigold/in-the-wild_example.tar
    # untar
    !tar -xf "in-the-wild_example.tar"
    !rm "in-the-wild_example.tar"
    !mv "in-the-wild_example" "input"

    with out_box:
        print("sample images are downloaded")


def on_button_upload_clicked(b):
    out_box.clear_output()
    os.makedirs(input_dir, exist_ok=True)
    os.chdir(input_dir)
    with out_box:
        uploaded = files.upload()
    os.chdir(repo_dir)

def on_button_clear_in_clicked(b):
    out_box.clear_output()
    shutil.rmtree(input_dir)
    os.makedirs(input_dir)
    with out_box:
        print("Input images are cleared")

def on_button_clear_out_clicked(b):
    out_box.clear_output()
    shutil.rmtree(output_dir)
    os.makedirs(output_dir)
    with out_box:
        print("Output folder is cleared")

button_download.on_click(on_button_download_clicked)
button_upload.on_click(on_button_upload_clicked)
button_clear_in.on_click(on_button_clear_in_clicked)
button_clear_out.on_click(on_button_clear_out_clicked)

widgets.VBox([widgets.HBox([button_upload, button_download]),
              widgets.HBox([button_clear_in, button_clear_out]),
              out_box])
すると、以下のように表示されます。「Upload images」を押せば、手持ちの画像で深度を推定できます。今回は「Use sample images」を選択し、サンプル画像の深度を推定しました。

次に、以下のコードを実行して、深度を推定する生画像を表示して確認しましょう。
%matplotlib inline

from glob import glob
import math
import numpy as np
import matplotlib.pyplot as plt
import matplotlib.image as mpimg

# Pre-defined function
def display_images(image_paths, n_images_per_row = 4):
    n_rows = math.ceil(len(image_paths) / n_images_per_row)

    plt.figure(figsize=(10, 2 * n_rows))  # Adjust the size as needed
    for i, img_path in enumerate(image_paths):
        img = mpimg.imread(img_path)
        plt.subplot(n_rows, n_images_per_row, i + 1)  # Number of rows, number of images per row, current index
        plt.imshow(img)
        plt.axis('off')  # To not display axis

    plt.tight_layout()
    plt.show()


image_paths = glob(os.path.join(input_dir, "*"))

display_images(image_paths)
最後に、以下のコードを実行して、深度を推定しましょう。
# @title ▶️ 2.2.4 Run inference
denoising_steps = 10 # @param {type:"integer"}
ensemble_size = 10 # @param {type:"integer"}
processing_res = 768 # @param {type:"integer"}
match_input_res = True # @param ["False", "True"]

import torch
from tqdm.auto import tqdm
from glob import glob
from PIL import Image


EXTENSION_LIST = [".jpg", ".jpeg", ".png"]

# Image list
rgb_filename_list = glob(os.path.join(input_dir, "*"))
rgb_filename_list = [
    f for f in rgb_filename_list if os.path.splitext(f)[1].lower() in EXTENSION_LIST
]
rgb_filename_list = sorted(rgb_filename_list)

# Create output folders
os.makedirs(output_dir, exist_ok=True)
os.makedirs(output_dir_color, exist_ok=True)
os.makedirs(output_dir_tif, exist_ok=True)
os.makedirs(output_dir_npy, exist_ok=True)

# Run Inference
with torch.no_grad():
    os.makedirs(output_dir, exist_ok=True)

    for rgb_path in tqdm(rgb_filename_list, desc=f"Estimating depth", leave=True):
        # Read input image
        input_image = Image.open(rgb_path)

        # Predict depth
        pipeline_output = pipe(
            input_image,
            denoising_steps=denoising_steps,     # optional
            ensemble_size=ensemble_size,       # optional
            processing_res=processing_res,     # optional
            match_input_res=match_input_res,   # optional
            batch_size=0,           # optional
            color_map="Spectral",   # optional
            show_progress_bar=True, # optional
        )

        depth_pred: np.ndarray = pipeline_output.depth_np
        depth_colored: Image.Image = pipeline_output.depth_colored

        # Save as npy
        rgb_name_base = os.path.splitext(os.path.basename(rgb_path))[0]
        pred_name_base = rgb_name_base + "_pred"
        npy_save_path = os.path.join(output_dir_npy, f"{pred_name_base}.npy")
        if os.path.exists(npy_save_path):
            logging.warning(f"Existing file: '{npy_save_path}' will be overwritten")
        np.save(npy_save_path, depth_pred)

        # Save as 16-bit uint png
        depth_to_save = (depth_pred * 65535.0).astype(np.uint16)
        png_save_path = os.path.join(output_dir_tif, f"{pred_name_base}.png")
        if os.path.exists(png_save_path):
            logging.warning(f"Existing file: '{png_save_path}' will be overwritten")
        Image.fromarray(depth_to_save).save(png_save_path, mode="I;16")

        # Colorize
        colored_save_path = os.path.join(
            output_dir_color, f"{pred_name_base}_colored.png"
        )
        if os.path.exists(colored_save_path):
            logging.warning(f"Existing file: '{colored_save_path}' will be overwritten")
        depth_colored.save(colored_save_path)
「content/Marigold」の直下のフォルダ「input」内の全画像ファイルの深度を推定し、「output」フォルダに結果が格納されます。
以下の入力画像の場合。

深度推定した結果、以下の通りになりました。


MarigoldのHigging Faceスペースも用意されており、そこでは簡単に同様の手順を実行できます。

Marigold-LCMを実行する方法
ちなみに、Marigold-LCMを実行するには、HuggingFaceスペースを利用する方法があります。

オリジナルのMarigoldのスペースと比べて、「Image」「Video」「Bas-relief(3D)」も選べるようになっています。
一通り試した様子は、以下の通りです。
動画の深度も推定できるようです。また、深度推定した画像から、3Dモデルも作れるようです。
Marigoldを動かすのに必要なPCのスペック
■Pythonのバージョン
Python 3.8以上
■使用ディスク量
約4GB
■RAMの使用量
最大11.4GB
「複数の既存AIを組み合わせて作られた画像言語モデルでも深度推定できるのか」を試してみたい方は、「【EvoVLM-JP】存在しない最強のAIモデルを作れるSakana AIの「進化的アルゴリズム」を徹底解説!」を合わせてご確認ください。
既存の深度推定モデルと比較してみた
ここでは、Marigold-LCMの凄さを検証するために、「Marigold-LCM」と「Marigold」と「Depth Anything」で、以下の点で比較しようと思います。
- 深度推定の精度
- スピード
デノイジングステップは、すべてのモデルで同じ4ステップにしました。
ここで、入力画像には「奥行感のある画像」と「奥行きがあるように見せて無いトリックアート」の2種類を使いました。
奥行感のある画像で試した
ここで用いるのは、以下の画像です。

各モデルによる深度推定の結果は、以下の通りです。
Marigold-LCM

Marigold

Depth Anything

生成速度の比較結果は、以下の通りです。
| モデル | スピード(秒) |
|---|---|
| Marigold-LCM | 9.5 |
| Marigold | 9.8 |
| Depth Anything | 6.8 |
トリックアートで試した
ここで用いるのは、以下の画像です。

実はすべて平面の絵ですが、各深度推定モデルはどのような結果を出力するのでしょうか?
各モデルによる深度推定の結果は、以下の通りです。
Marigold-LCM

Marigold

Depth Anything

生成速度の比較結果は、以下の通りです。
| モデル | スピード(秒) |
|---|---|
| Marigold-LCM | 9.8 |
| Marigold | 13.6 |
| Depth Anything | 7.4 |
画像認識にも定評のあるClaude 3でも、深度推定できるのか実験したい方は、「【Claude 3】GPT-4を超えるAnthropicのOpus、Sonnet、Haikuとは?使い方や料金も解説」を合わせてご確認ください。
深度推定において最高精度のMarigold-LCMの今後に要注目
本記事では、深度推定分野において、SOTAを達成しているMarigoldの高速バージョン「Marigold-LCM」についてご紹介しました。
検証結果より、精度はやはりMarigold-LCMが一番高いように思えました。とはいえ、それほど「生成速度に優位性がある」という結果にもならなかったです。
おそらく今後の改良で、リアルタイム生成が可能になるくらいまで、高速になっているのかもしれませんね。
ちなみに公式のXの投稿のリプライ欄では、以下のような「いくつかテストしてみたところ、Marigold-LCMよりも、オリジナルのMarigoldの方が良いような気がする。」といった意見も。
また、Marigoldを使って推定した深度画像を、Blenderで立体的に表示している方がいました。
最後に
いかがだったでしょうか?
GPT-3.5 Turboの最新アップデートで、より高速かつ低コストでのAI活用が可能になりました。自社での導入・活用を検討する際に、最適なモデル選定や活用方法について、一緒に考えてみませんか?
弊社では
・マーケティングやエンジニアリングなどの専門知識を学習させたAI社員の開発
・要件定義・業務フロー作成を80%自動化できる自律型AIエージェントの開発
・生成AIとRPAを組み合わせた業務自動化ツールの開発
・社内人事業務を99%自動化できるAIツールの開発
・ハルシネーション対策AIツールの開発
・自社専用のAIチャットボットの開発
などの開発実績がございます。
まずは、「無料相談」にてご相談を承っておりますので、ご興味がある方はぜひご連絡ください。
➡︎生成AIを使った業務効率化、生成AIツールの開発について相談をしてみる。

「生成AIを社内で活用したい」「生成AIの事業をやっていきたい」という方に向けて、生成AI社内セミナー・勉強会をさせていただいております。
セミナー内容や料金については、ご相談ください。
また、サービス紹介資料もご用意しておりますので、併せてご確認ください。


